

Discover easy pencil sketches for beginners with step-by-step practice ideas, simple subjects, pencil techniques, shading tips, and a 7-day sketching challenge.
Easy Pencil Sketches for Beginners: Step-by-Step Practice
Learning to draw with a pencil is one of the easiest and most accessible ways to begin exploring art. You do not need expensive supplies or advanced drawing skills to get started. A pencil, some paper, an eraser, and regular practice are enough.
If you are a beginner, however, it can be difficult to decide what to sketch first.
Should you draw a flower? An animal? A face? A landscape? Or an everyday object?
The best approach is to begin with simple subjects that help you practice one skill at a time.
In this guide, you will find easy pencil sketch ideas for beginners, simple step-by-step approaches, useful pencil techniques, practice exercises, common mistakes, and a structured routine to help you gradually improve.
Sketching for Beginners: A Complete Guide to Getting Started
Whether you are a school student learning drawing for the first time or simply want to improve your pencil sketching skills, these exercises can give you a practical place to start.
What Is a Pencil Sketch?
A pencil sketch is a drawing created mainly with graphite pencil.
Unlike a highly detailed finished drawing, a sketch often focuses on:
- Basic shapes
- Lines
- Contours
- Proportions
- Light and shadow
- Form
- Observation
A pencil sketch can be very simple or highly detailed.
For beginners, the main goal should not be perfect realism. The goal is to learn how to see, construct, and represent what you observe.
Why Are Pencil Sketches Good for Beginners?
Pencil is one of the best materials for learning basic drawing skills because it is:
- Easy to use
- Relatively inexpensive
- Portable
- Easy to erase
- Suitable for light construction lines
- Useful for both outlines and shading
More importantly, pencil drawing allows you to practice many fundamental skills that are useful in other forms of art.
These include:
- Observation
- Line control
- Shape recognition
- Proportion
- Shading
- Perspective
- Light and shadow
Once these skills improve, moving into painting, illustration, cartoon drawing, or digital art can become easier.
What Do You Need for Pencil Sketching?
You can start with very basic materials.
Essential Supplies
- HB pencil
- 2B pencil
- Drawing paper or sketchbook
- Eraser
- Pencil sharpener
Optional Supplies
As you gain experience, you can add:
- 4B pencil
- 6B pencil
- Kneaded eraser
- Blending stump
- Drawing ruler
- Pencil case
You do not need all of these when starting.
A simple HB or 2B pencil and a sketchbook are enough for most beginner exercises.
Understanding Pencil Grades
Different graphite pencils produce different values.
HB
HB is useful for:
- Light construction
- Outlines
- Basic drawing
- General practice
2B
2B is darker and softer than HB.
It is useful for:
- Shading
- Darker outlines
- Mid-tones
- Developing form
4B and 6B
These pencils are softer and darker.
They are useful for:
- Deep shadows
- Strong contrast
- Dark areas
- More developed pencil sketches
Pencil Grades Explained: A Complete Guide to H, HB, B, 2B, 4B, 6B & More for Beginners
If you are a complete beginner, start with HB and 2B before buying a large pencil set.
How to Start a Pencil Sketch
Before beginning any sketch, follow a simple process.
Step 1: Choose a Simple Subject
Start with something familiar.
Good beginner subjects include:
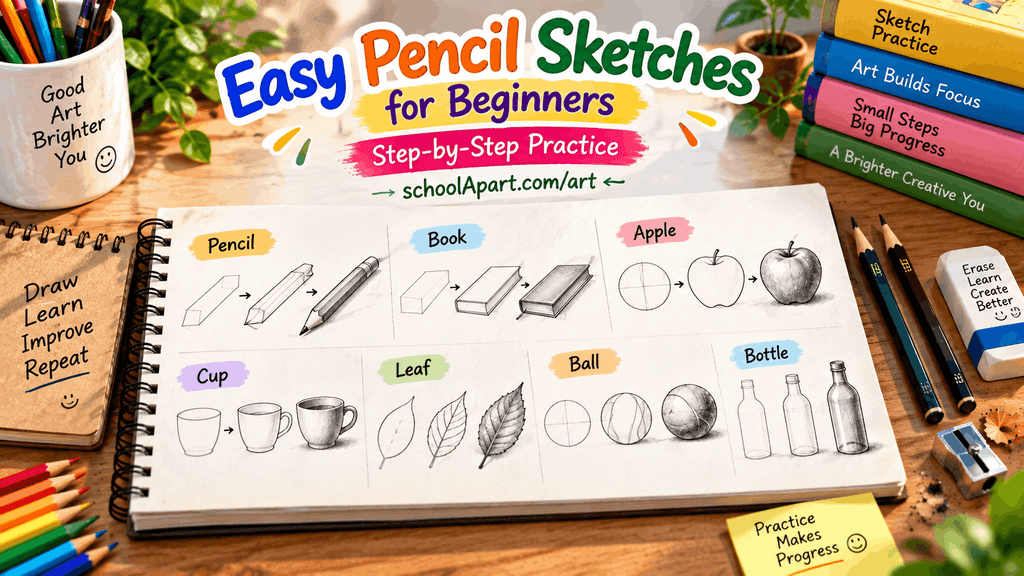
- Pencil
- Book
- Cup
- Apple
- Leaf
- Flower
- Bottle
- Ball
- Simple house
- Basic tree
Step 2: Observe the Subject
Look carefully before drawing.
Ask:
- What is the overall shape?
- Is it tall or wide?
- Which parts are curved?
- Which parts are straight?
- Where is the light coming from?
- Where are the darkest areas?
Step 3: Break It Into Simple Forms
Try to identify basic shapes such as:
- Circle
- Oval
- Rectangle
- Square
- Triangle
- Cylinder
- Sphere
- Cone
This can make complicated subjects easier to understand.
Step 4: Draw Lightly
Begin with light pencil strokes.
Do not press hard.
Your first lines are construction lines, so you should be able to adjust or erase them.
Step 5: Refine the Shape
Once the structure looks correct, strengthen the important contours.
Basic Shapes in Drawing: A Complete Beginner’s Guide
5 Basic Shapes for Drawing: How to Use Them to Create Simple Drawings
Step 6: Add Details
Add only the details that help the object become recognizable.
Step 7: Add Light and Shadow
Identify the light source and gradually build darker areas.
Step 8: Clean Up
Erase unnecessary construction lines and refine the final sketch.
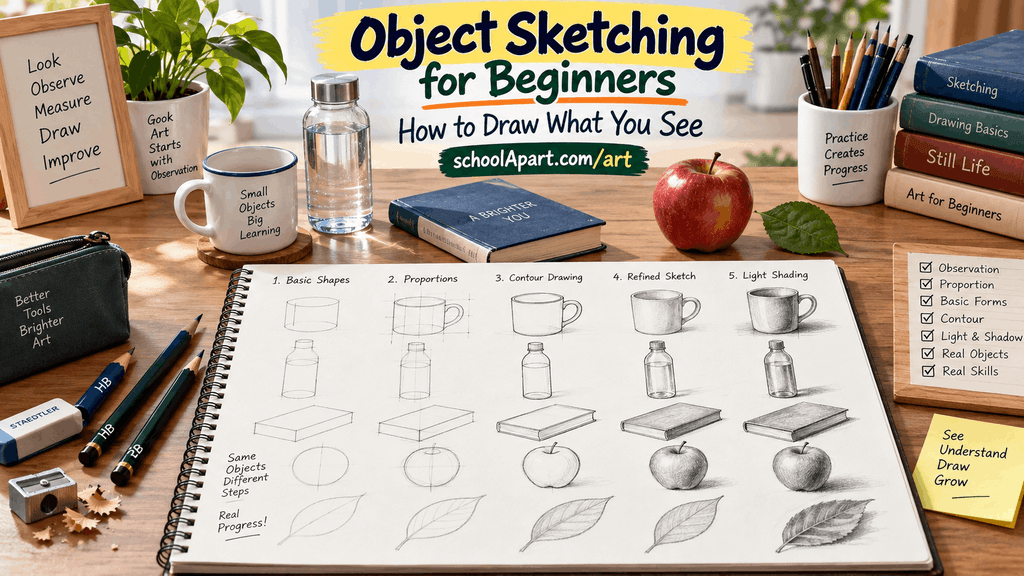
How to Sketch Simple Objects Step by Step: A Beginner’s Guide
10 Easy Pencil Sketch Ideas for Beginners
The following subjects are excellent for building basic pencil drawing skills.
1. Pencil
A pencil may seem too simple, but it is an excellent first exercise.
It helps you practice:
- Straight lines
- Parallel lines
- Proportion
- Simple perspective
- Small details
Start with the long body and add the pointed tip and eraser.
2. Book
A closed book is another simple subject.
Begin with a rectangle and gradually add:
- Cover
- Spine
- Pages
- Edges
Then add a little shading to show thickness.
A book is particularly useful for practicing straight lines and three-dimensional form.
3. Apple
An apple is a good introduction to organic shapes.
Do not begin with a perfect circle.
Instead, lightly draw a rounded form and then adjust the outline to create:
- Curves
- Top indentation
- Stem
- Slight irregularities
Finally, add gradual shading.
4. Cup
A cup is useful for practicing curved forms.
Start with an oval for the opening.
Then:
- Add the sides.
- Create the lower portion.
- Add the handle.
- Refine the rim.
- Add light and shadow.
A cup is an excellent subject for learning how simple shapes become recognizable objects.
5. Leaf
A leaf is a good beginner nature sketch.
Start with:
- A central vein
- Basic outer shape
- Smaller veins
Then refine the edges and add gentle shading.
Try drawing different leaf shapes once you become comfortable.
6. Flower
A simple flower can be constructed using basic repeated shapes.
Start with the center and then add the petals.
Do not worry about making every petal identical.
Natural variation can make the sketch look more interesting.
7. Ball
A ball is one of the best exercises for learning shading.
Start with a circle.
Then identify:
- Highlight
- Light area
- Midtone
- Dark area
- Cast shadow
This simple exercise can teach you how shading creates the appearance of three-dimensional form.
8. Bottle
A bottle helps you practice:
- Symmetry
- Proportion
- Curves
- Cylindrical forms
- Light and shadow
Lightly draw a vertical centerline to help maintain symmetry.
Then construct the body around it.
9. Simple Tree
A tree does not need to be highly detailed.
Start with:
- Trunk
- Main branches
- Large foliage shapes
Then add selected details rather than drawing every leaf.
This helps you understand how large forms can be simplified.
10. Simple House
A simple house is useful for practicing:
- Rectangles
- Triangles
- Straight lines
- Basic perspective
- Simple details
You can start with a rectangular body and add a triangular roof.
Then include simple elements such as:
- Door
- Windows
- Chimney
Keep the drawing simple at first.
Step-by-Step Practice: How to Sketch a Simple Apple
Let’s look at one complete example.
Step 1: Draw the Basic Form
Lightly draw a circle-like shape.
Do not make the line too dark.
Step 2: Adjust the Outline
An apple is not a perfect circle.
Create slight curves and an indentation at the top.
Step 3: Add the Stem
Draw a short curved stem.
Step 4: Observe the Light
Determine where the light is coming from.
Leave the brightest area relatively light.
Step 5: Add Mid-Tones
Use gentle pencil strokes around the middle areas.
Step 6: Build the Darker Side
Gradually increase pencil pressure where the object is darker.
Step 7: Add the Cast Shadow
Draw a soft shadow beneath the apple.
Step 8: Refine
Remove unnecessary construction lines and adjust the tonal values.
You now have a simple pencil study of an apple.
Step-by-Step Practice: How to Sketch a Simple Cup
Step 1
Draw a light oval for the opening.
Step 2
Add two side lines extending downward.
Step 3
Create the curved bottom.
Step 4
Draw the handle using simple curved lines.
Step 5
Refine the rim and outer contour.
Step 6
Determine the light direction.
Step 7
Add darker shading on the opposite side.
Step 8
Add a cast shadow underneath.
The important thing is to understand the structure rather than create a perfectly realistic cup.
Step-by-Step Practice: How to Sketch a Simple Leaf
Step 1
Draw the central vein.
Step 2
Create the outer shape around the vein.
Step 3
Add smaller veins.
Step 4
Refine the edges.
Step 5
Add light shading along selected areas.
Step 6
Erase unnecessary construction marks.
A leaf is a good exercise because you can quickly draw several variations.
Easy Pencil Sketches Based on Skill Level
You do not have to start with the same subjects as everyone else.
Choose according to your current skill.
Beginner Level
Try:
- Pencil
- Book
- Ball
- Apple
- Leaf
- Cup
Developing Level
Try:
- Bottle
- Flower
- Simple house
- Shoes
- Spoon
- Vase
More Confident Beginner
Try:
- Multiple objects together
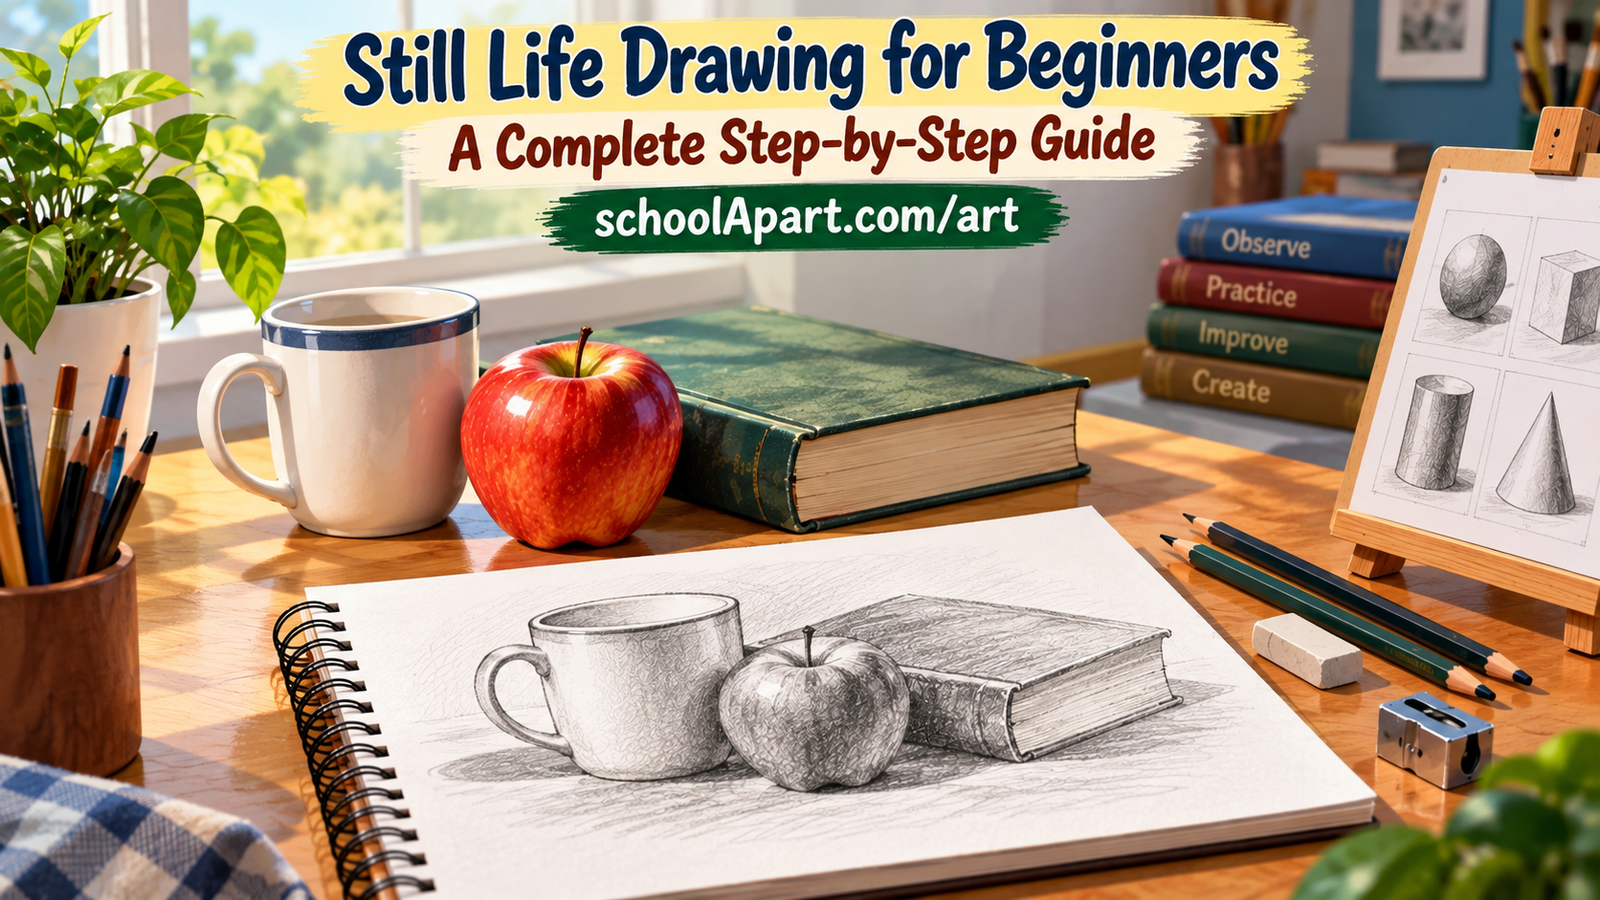
- Simple still life
- Objects from different angles
- Objects under different lighting
- Simple nature scenes
The goal is to gradually increase complexity.
Pencil Sketch Techniques Beginners Should Practice
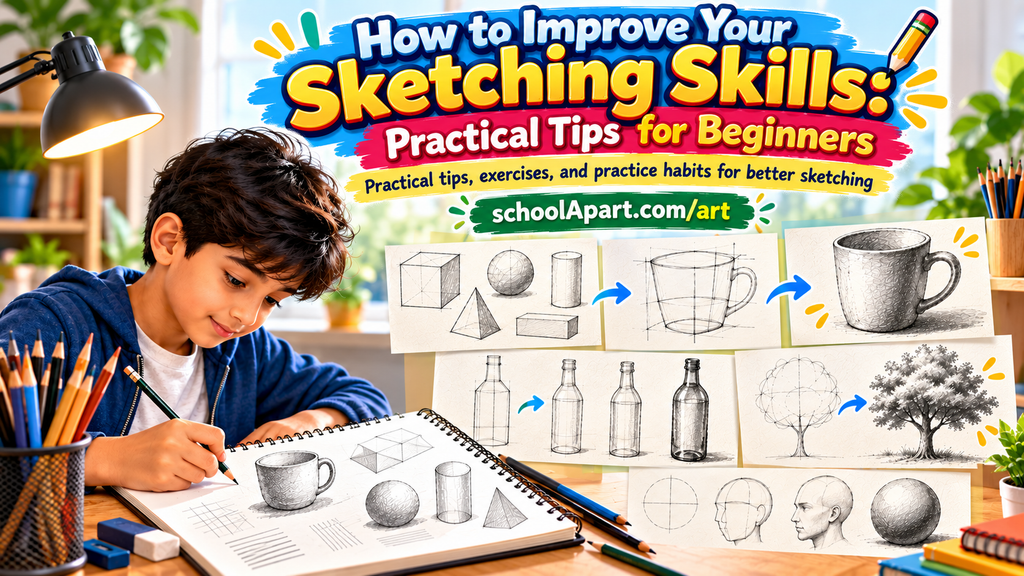
1. Line Control
Practice drawing:
- Straight lines
- Curved lines
- Long lines
- Short lines
- Parallel lines
Better line control makes sketching easier.
2. Hatching
Hatching uses repeated lines to create darker values.
The closer or more numerous the lines are, the darker the area can appear.
3. Cross-Hatching
Cross-hatching involves overlapping sets of lines.
It can create stronger dark values and interesting pencil texture.
4. Layered Shading
Instead of pressing very hard immediately, gradually build darkness with several layers.
This gives you greater control.
5. Contour Drawing
Contour drawing focuses on carefully following the visible edges of a subject.
It is useful for improving observation and hand-eye coordination.
6. Light and Shadow
Practice identifying:
- Highlight
- Light
- Midtone
- Shadow
- Cast shadow
This is one of the most important skills for creating form.
How to Practice Pencil Sketching Every Day
You do not need to spend hours drawing.
A short daily routine can be effective.
15-Minute Practice Routine
Minutes 1–3:
Warm up with lines and circles.
Minutes 4–7:
Draw the basic structure of an object.
Minutes 8–12:
Refine the contour and details.
Minutes 13–15:
Add simple shading.
This routine can be repeated with a different object each day.
A 7-Day Easy Pencil Sketch Challenge
Day 1 — Pencil
Practice straight lines and proportion.
Day 2 — Book
Practice rectangles and simple perspective.
Day 3 — Apple
Practice organic forms and shading.
Day 4 — Cup
Practice curves and cylindrical forms.
Day 5 — Leaf
Practice natural shapes and contour.
Day 6 — Bottle
Practice symmetry and proportion.
Day 7 — Three Objects
Choose any three objects and sketch them together.
Do not worry about creating perfect drawings.
The purpose is to build a regular drawing habit.
How to Improve Your Pencil Sketches
Look Before You Draw
Observation is just as important as pencil control.
Draw Lightly at First
Light construction lines make corrections easier.
Start With Large Forms
Do not begin with tiny details.
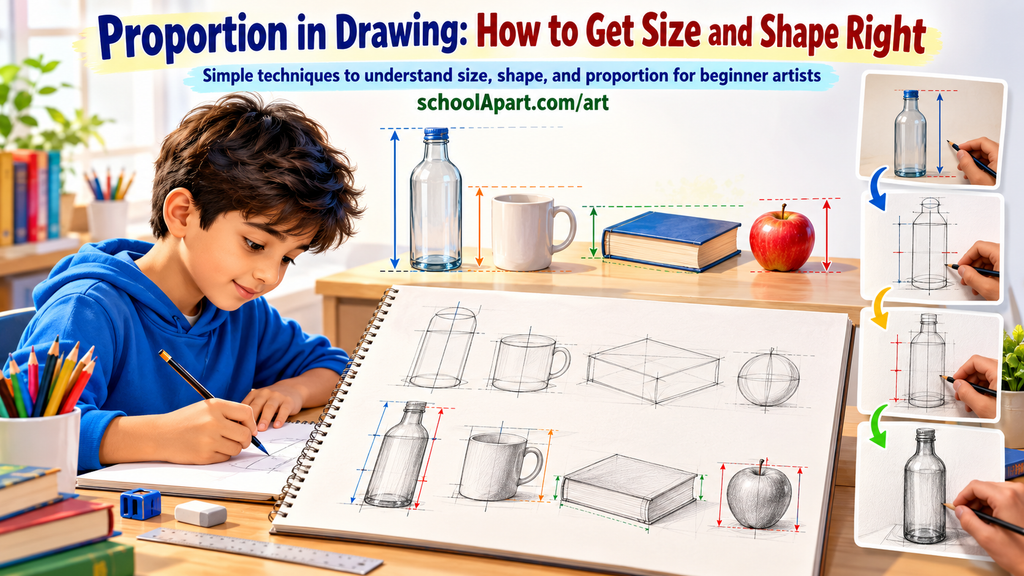
Compare Proportions
Check height, width, angles, and relationships between parts.
Avoid Overworking
A beginner sketch does not need every possible detail.
Practice the Same Subject More Than Once
Your second attempt may reveal things you missed in the first.
Study Light and Shadow
Even a simple object can look three-dimensional when its values are handled well.
Common Pencil Sketching Mistakes
Drawing Too Dark Too Early
Heavy lines make corrections difficult.
Solution: Begin lightly.
Ignoring Proportion
A drawing may have good details but still look incorrect if the overall proportions are wrong.
Solution: Check height and width before refining.
Adding Details Too Soon
Details cannot fix an incorrect structure.
Solution: Work from large forms to small details.
Making Every Line Equally Strong
Not every edge needs the same visual weight.
Solution: Vary line pressure where appropriate.
Over-Blending
Too much blending can make the drawing look muddy.
Solution: Build shading gradually and preserve useful pencil texture.
Drawing Only From Memory
Memory can simplify objects incorrectly.
Solution: Practice from real objects or reliable references.
How to Know If Your Sketch Is Improving
Improvement does not always mean that your drawings look dramatically more realistic.
Look for smaller changes:
- Your proportions are becoming more accurate.
- Your lines are more controlled.
- You make fewer corrections.
- You can recognize basic forms more easily.
- Your shading becomes smoother.
- You can draw objects from different angles.
- You observe details that you previously missed.
- You feel more comfortable starting a drawing.
These are all signs of progress.
What Should You Sketch Next?
Once you are comfortable with simple pencil sketches, gradually move toward:
- Objects from different angles
- More complex everyday objects
- Groups of objects
- Simple still life drawings
- Nature sketches
- Objects under different lighting
- Observation-based sketching
- More detailed pencil drawings
You do not need to rush.
Build one skill before adding another.
From Easy Pencil Sketches to Better Drawing Skills
Simple pencil sketches are not just small drawing exercises.
They form a foundation for many other art skills.
You can use the same principles when learning:
- Portrait drawing
- Nature drawing
- Still life
- Illustration
- Cartoon drawing
- Painting
- Digital art
The more you practice observing shapes, proportions, light, and form, the easier it becomes to understand other types of art.
Final Tips for Beginner Artists
If you are just beginning, remember:
- Start simple.
- Draw regularly.
- Observe carefully.
- Use basic shapes to understand structure.
- Keep construction lines light.
- Focus on proportion before detail.
- Practice shading gradually.
- Do not compare your first sketch with someone else’s finished artwork.
- Keep your old sketches so you can see your progress.
- Most importantly, enjoy the process.
You do not need to create a perfect drawing every time you pick up a pencil.
Every sketch is practice, and every practice session teaches you something new.
Frequently Asked Questions (FAQ)
What are the easiest pencil sketches for beginners?
Simple objects such as pencils, books, apples, cups, leaves, balls, bottles, and flowers are excellent starting points. They allow beginners to practice basic shapes, contours, proportions, and shading.
What pencil should a beginner use for sketching?
An HB or 2B pencil is a good starting point. HB works well for lighter construction lines, while 2B is useful for darker lines and shading.
How do I start a pencil sketch?
Start by observing the subject, identifying its overall height and width, breaking it into basic shapes, drawing lightly, refining the contour, and then adding details and shading.
Can I learn pencil sketching without artistic talent?
Yes. Pencil sketching is a skill that can be developed through observation, practice, proportion, shape recognition, and repeated exercises.
How long should I practice pencil sketching each day?
Beginners can start with around 10–20 minutes a day. Consistency is more important than drawing for a long time only occasionally.
What should I sketch first as a beginner?
Start with simple objects such as a pencil, book, cup, apple, ball, or leaf. These subjects are easy to observe and provide useful drawing practice.
How can I make my pencil sketches look realistic?
Focus on accurate proportions, careful observation, light and shadow, gradual shading, and the three-dimensional form of the subject. Realistic drawing develops gradually through practice.
Should I use an eraser while sketching?
Yes. An eraser is useful for correcting construction lines and creating highlights. However, avoid erasing constantly while you are still developing the basic structure.
Is pencil sketching useful for learning other types of art?
Yes. Pencil sketching develops observation, proportion, line control, form, shading, and composition skills that can help with painting, illustration, cartoon drawing, and digital art.
What should I draw after easy pencil sketches?
After becoming comfortable with simple subjects, try drawing objects from different angles, multiple objects together, simple still life arrangements, and observation-based sketches.
Leave a Reply