

Learn still life drawing for beginners with simple objects, basic shapes, observation, proportion, composition, light, shadow, shading, and step-by-step practice.
Still Life Drawing for Beginners: A Complete Step-by-Step Guide
Still life drawing is one of the best ways for beginners to learn how to observe real objects and turn what they see into a drawing.
Instead of drawing from imagination, you arrange a few simple objects in front of you and carefully study their shape, size, proportion, position, light, shadow, and details. You then use those observations to create a drawing.
A still life setup can be very simple. A cup, an apple, a bottle, a book, or a small vase can be enough to begin.
For school students and beginner artists, still life drawing is especially useful because it connects several important drawing skills together. You can practice basic shapes, object sketching, proportion, perspective, light and shadow, and pencil shading in one exercise.
This guide will show you how to start still life drawing, how to choose objects, how to arrange them, and how to complete a simple still life drawing step by step.
What Is Still Life Drawing?
Still life drawing is the practice of drawing non-living objects that have been arranged together as a composition.
Common still life subjects include:
- Fruits
- Books
- Cups
- Bottles
- Vases
- Jars
- Flowers
- School supplies
- Toys
- Boxes
- Household objects
The objects do not need to be complicated.
In fact, beginners should start with simple objects that have clear shapes.
For example:
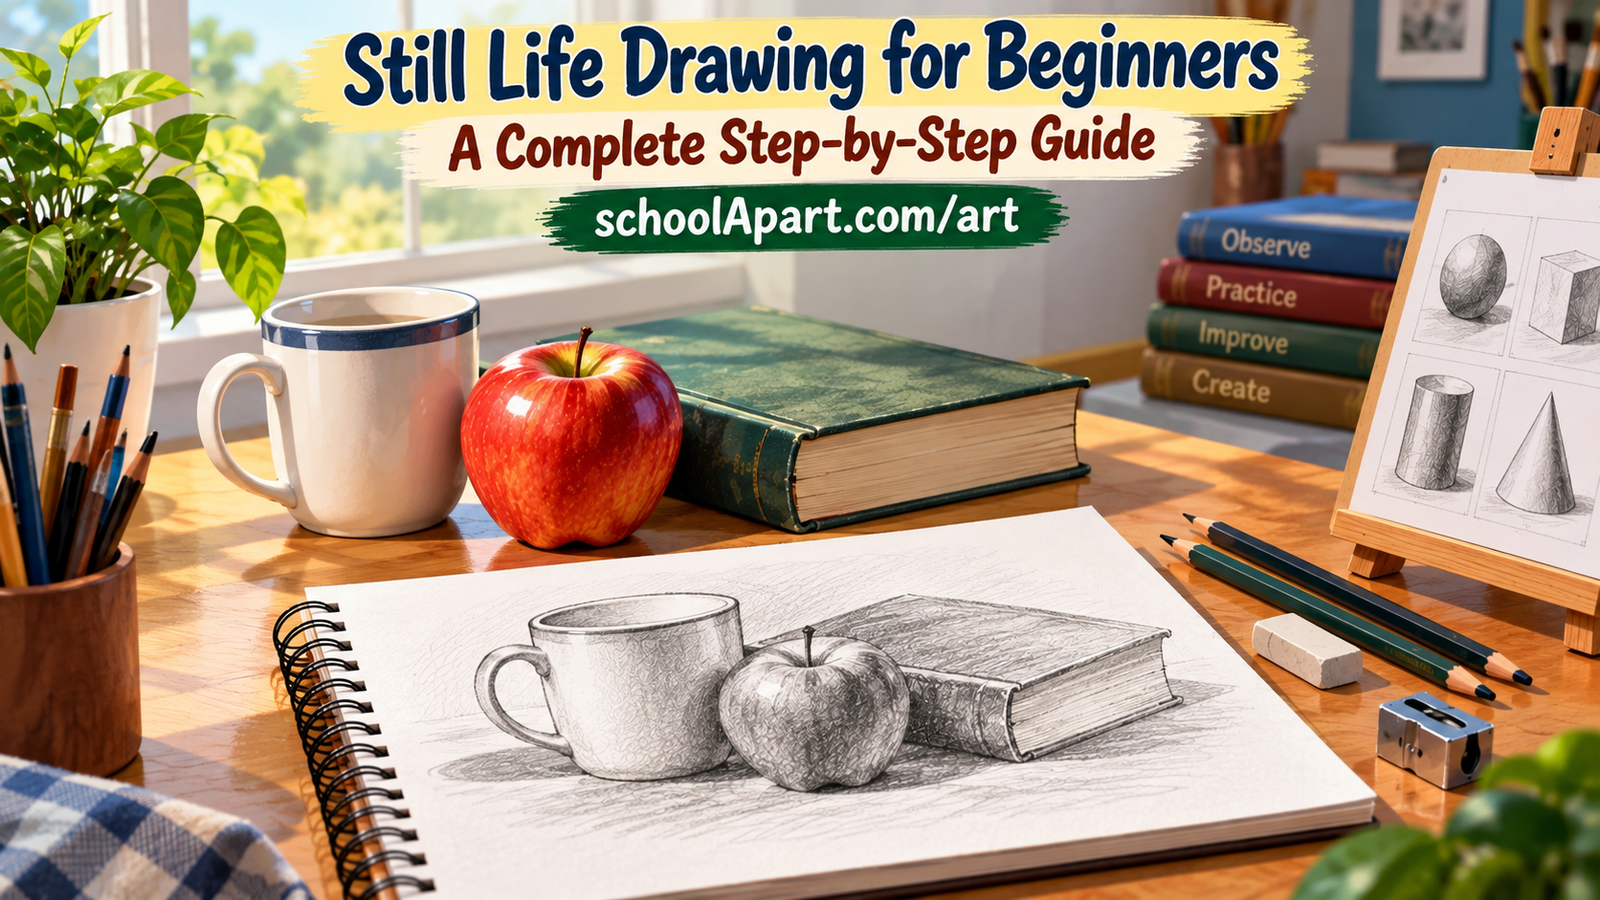
Apple + Cup + Book
can make an excellent first still life setup.
Why Is Still Life Drawing Important for Beginners?
Still life drawing helps beginners develop several fundamental art skills.
1. Observation
You learn to carefully look at the actual object instead of drawing what you think it should look like.
2. Proportion
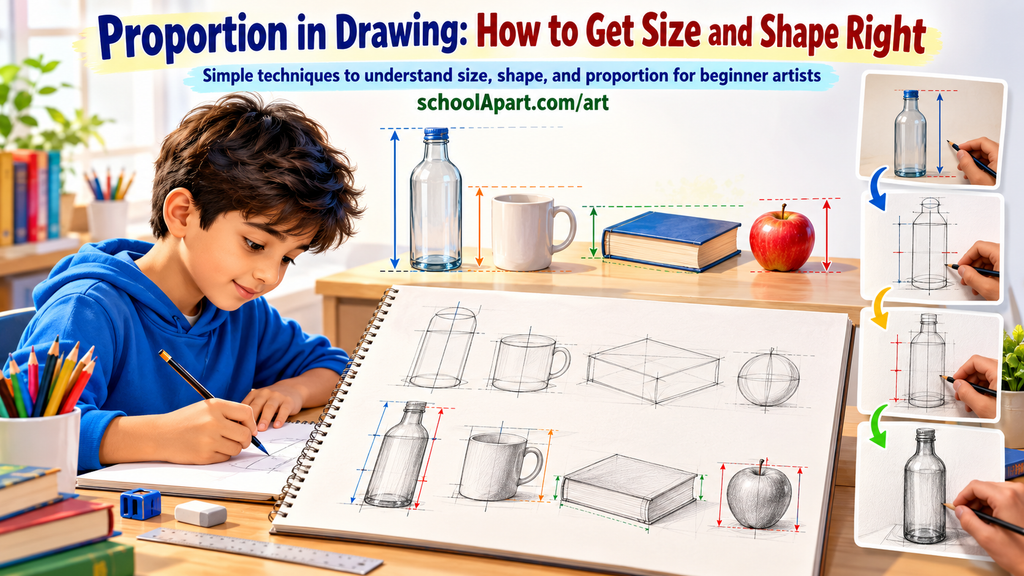
You learn to compare the size of one object with another.
3. Basic Shapes
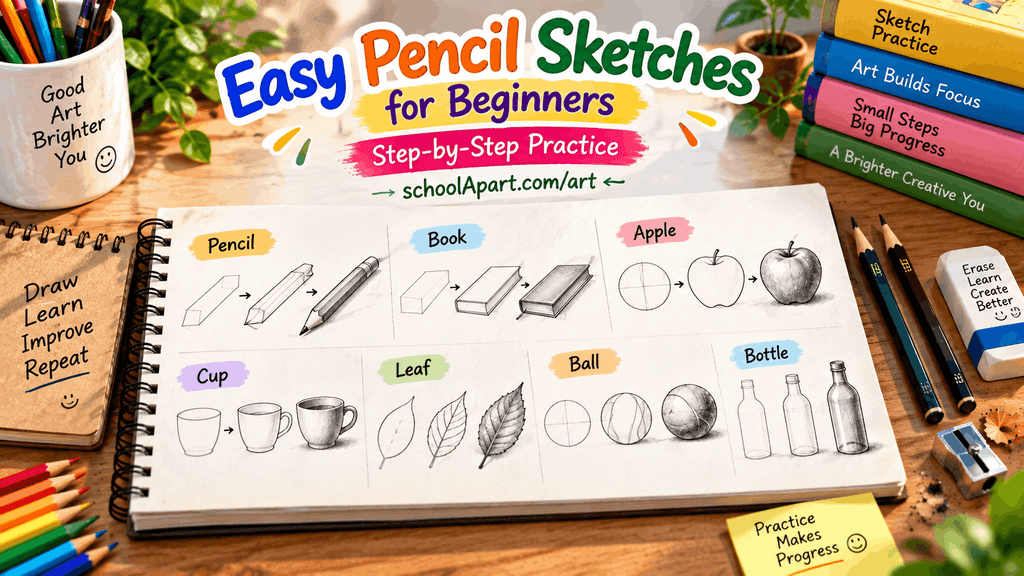
Many objects can be simplified into circles, ovals, rectangles, cylinders, cubes, and other basic forms.
4. Composition
You learn how objects can be arranged within a drawing.
5. Light and Shadow
You can observe how light falls on objects and creates highlights and shadows.
6. Shading
Still life gives you a practical way to apply pencil shading techniques.
7. Patience
Because observation takes time, still life drawing encourages careful and deliberate drawing.
Still Life Drawing vs Object Sketching
Still life drawing and object sketching are closely related, but they are not exactly the same.
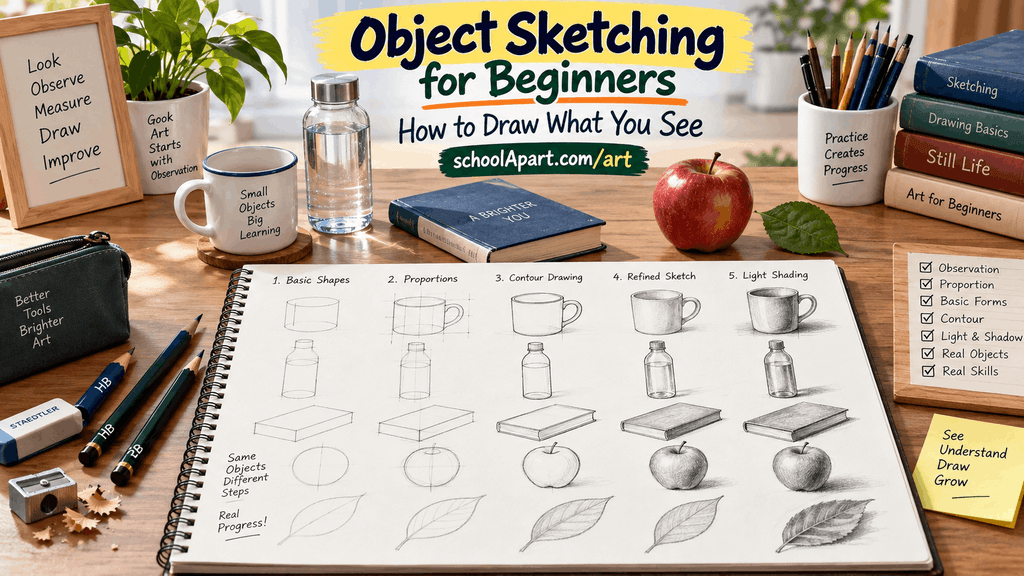
Object sketching usually focuses on observing and drawing individual objects.
Still life drawing generally involves arranging multiple objects together and drawing them as one composition.
For example:
Object sketching:
Draw one cup.
Still life drawing:
Draw a cup, an apple, and a book arranged together on a table.
If you are new to observation drawing, start with Object Sketching for Beginners before moving into more complex still life arrangements.
What Materials Do You Need?
You do not need expensive equipment.
Basic materials
- HB pencil
- 2B pencil
- 4B pencil
- Drawing paper
- Eraser
- Sharpener
- Ruler (optional)
For a beginner, an HB pencil is useful for the initial construction, while softer pencils such as 2B or 4B can be used for darker shading.
You can learn more about pencil grades in Pencil Grades Explained.
For a broader overview of beginner art materials, see Art Supplies for Beginners.
How to Choose Objects for Still Life Drawing
Your first still life should be simple.
Choose objects with:
- Clear shapes
- Different sizes
- Different heights
- Simple surfaces
- Good visibility
Good beginner objects
- Apple
- Orange
- Cup
- Bottle
- Book
- Small box
- Bowl
- Pencil holder
- Simple vase
Avoid extremely complicated objects at first.
Objects with many tiny details can distract you from learning the fundamentals.
How to Set Up a Simple Still Life
Once you have your objects, arrange them in a comfortable position.
For example:
Book + Cup + Apple
Place the book slightly behind or beside the cup and position the apple in front.
Try not to arrange everything in a perfectly straight row.
Instead, create some variation in:
- Height
- Position
- Distance
- Overlap
Overlapping objects can make the composition feel more connected.
Think About the Light Source
Before you start drawing, decide where the light is coming from.
You can use:
- Natural window light
- A desk lamp
- A room light
A single clear light source is often easier for beginners to study.
For example:
Light → upper left
You may then notice:
- A brighter area on the upper-left side
- A darker area on the opposite side
- A cast shadow on the table
Understanding this will make the final drawing more convincing.
For more practice, see Light and Shadow in Drawing.
Step-by-Step Still Life Drawing
Now let’s create a simple still life drawing using three objects.
Imagine your setup contains:
A book + a cup + an apple
Step 1: Observe Before Drawing
Do not immediately start drawing.
Spend a few moments looking at the setup.
Ask yourself:
- Which object is tallest?
- Which object is widest?
- Which object is closest to me?
- Which object is behind another?
- Where is the light coming from?
- Where are the darkest shadows?
Observation is the first step.
Step 2: Identify the Basic Shapes
Break each object into simple forms.
For example:
Book
→ Rectangle
Cup
→ Cylinder + oval
Apple
→ Circle/oval
This is where your knowledge of basic shapes becomes useful.
You can practice this idea with How to Draw Using Basic Shapes.
Step 3: Mark the Overall Composition
Lightly indicate where the objects will appear on the page.
Do not draw details yet.
Think about the overall space.
Make sure:
- Objects are not too close to the edge.
- The composition is not too small.
- There is enough space around the objects.
- The objects have appropriate relationships to one another.
Step 4: Draw the Largest Forms First
Start with the largest object.
If the book is the largest object, sketch its basic rectangular form first.
Then add the cup and apple.
Keep your pencil lines light.
At this stage, accuracy is more important than detail.
Step 5: Compare Proportions
Now compare the objects.
Ask:
- Is the cup too tall compared with the apple?
- Is the book too wide?
- Is the apple too large?
- Are the objects positioned correctly?
You can use simple visual comparisons.
For example:
How many times does the apple’s height fit into the cup’s height?
You do not always need exact measurements. Relative comparison is often enough for beginner practice.
Step 6: Add Overlapping Areas
Look carefully at where one object passes in front of another.
For example, the apple may partially cover the book.
Draw the visible portions first.
Avoid drawing hidden edges too strongly.
This helps the objects feel like they occupy the same space.
Step 7: Refine the Contours
Once the basic proportions look correct, refine the outlines.
Correct:
- Curves
- Corners
- Ellipses
- Object edges
- Small shape differences
Erase unnecessary construction lines carefully.
Do not worry about making every line perfect.
Step 8: Add the Table or Ground Line
Objects need to appear as though they are resting somewhere.
Lightly indicate the surface beneath them.
This might be:
- A table
- A desk
- A flat platform
The ground plane helps establish the position of the objects.
Step 9: Identify Light and Shadow
Before shading, study the real objects again.
Look for:
Highlight
The lightest area receiving direct light.
Midtone
The middle-value area between light and dark.
Core shadow
The darker area on the object away from the light.
Cast shadow
The shadow the object creates on the surface.
Understanding these four areas can make shading much easier.
Step 10: Start With Light Shading
Do not immediately use very dark pencil strokes.
Start with a light layer.
Use gentle pressure and gradually build darker areas.
This gives you better control.
You can review Shading Techniques for Beginners before practicing this step.
Step 11: Build Darker Areas Gradually
Once the basic values are established, gradually strengthen the darker sections.
You can use:
- 2B pencil
- 4B pencil
- Layered strokes
- Hatching
- Cross-hatching
Keep the light areas relatively clean.
The goal is not to make everything dark.
The goal is to create a clear light-to-dark range.
Step 12: Add Cast Shadows
Look at the shadow beneath and around each object.
Cast shadows can help anchor the objects to the surface.
A common beginner mistake is to draw objects without any grounding shadow, making them appear as though they are floating.
Keep the cast shadow softer and lighter toward its outer edges when appropriate.
Step 13: Add Final Details
Only after the main forms and values are correct should you add smaller details.
Examples include:
- Texture on an apple
- Pages on a book
- A handle on a cup
- Small surface marks
- Subtle highlights
Details should support the drawing rather than distract from the main forms.
A Simple Still Life Exercise for Beginners
Try this first exercise.
Objects
Choose:
- 1 apple
- 1 cup
- 1 book
Time
Spend around 20–30 minutes.
Exercise structure
5 minutes: Observation and setup
5 minutes: Basic shapes
5 minutes: Proportion and contours
10 minutes: Light and shadow
5 minutes: Final shading and details
Do not worry about creating a perfect drawing.
The purpose is to train your observation.
Beginner Still Life Practice Progression
Once you complete your first exercise, gradually increase the difficulty.
Level 1
One simple object
Level 2
Two objects
Level 3
Three simple objects
Level 4
Objects with overlapping forms
Level 5
Objects with different textures
Level 6
More complex still life composition
This gradual progression helps you develop confidence without becoming overwhelmed.
Still Life Drawing Practice Ideas
Try different combinations.
Practice 1
Apple + orange
Practice 2
Cup + book
Practice 3
Bottle + cup + fruit
Practice 4
Pencil holder + book + eraser
Practice 5
Small vase + flower + fruit
Practice 6
School bag + books + pencil box
For school students, everyday objects can be excellent still life subjects.
How to Improve Your Still Life Drawing
Observe more than you draw
Do not spend the entire time looking at your paper.
Regularly look back at the objects.
Start light
Construction lines should remain light until you are confident about the proportions.
Compare relationships
Instead of drawing every object independently, compare their sizes and positions.
Look for negative spaces
Pay attention to the shapes created between objects.
Study light
Move around the setup or change the light source and observe how the shadows change.
Practice regularly
A short still life drawing session several times a week can be more useful than one long session every few weeks.
Common Still Life Drawing Mistakes
1. Drawing from memory
Beginners often draw what they think an object looks like.
Solution: Look at the actual object frequently.
2. Starting with details
Drawing tiny details before getting the overall shape right can cause proportion problems.
Solution: Start with large forms.
3. Ignoring proportions
Objects may look unrealistic if their relative sizes are incorrect.
Solution: Compare objects continuously.
4. Making outlines too dark
Heavy outlines can make the drawing look flat.
Solution: Use lighter construction lines and stronger values where needed.
5. Ignoring shadows
Without shadows, objects may not appear grounded.
Solution: Observe both object shadows and cast shadows.
6. Using the same darkness everywhere
A drawing needs a range of values.
Solution: Include light, middle, and dark areas.
7. Adding too many details
Details cannot fix incorrect proportions.
Solution: Solve the big shapes first.
Still Life Drawing and Basic Shapes
Basic shapes are especially useful when learning still life drawing.
For example:
| Object | Simple Form |
|---|---|
| Apple | Sphere / oval |
| Cup | Cylinder |
| Book | Rectangular form |
| Bottle | Cylinders + simple curves |
| Bowl | Oval + curved form |
| Box | Cube / rectangular prism |
This does not mean every object is literally a perfect geometric shape.
Instead, basic forms provide a useful starting framework for understanding structure.
Still Life Drawing and Sketching
Still life drawing is also an excellent bridge between sketching and finished drawing.
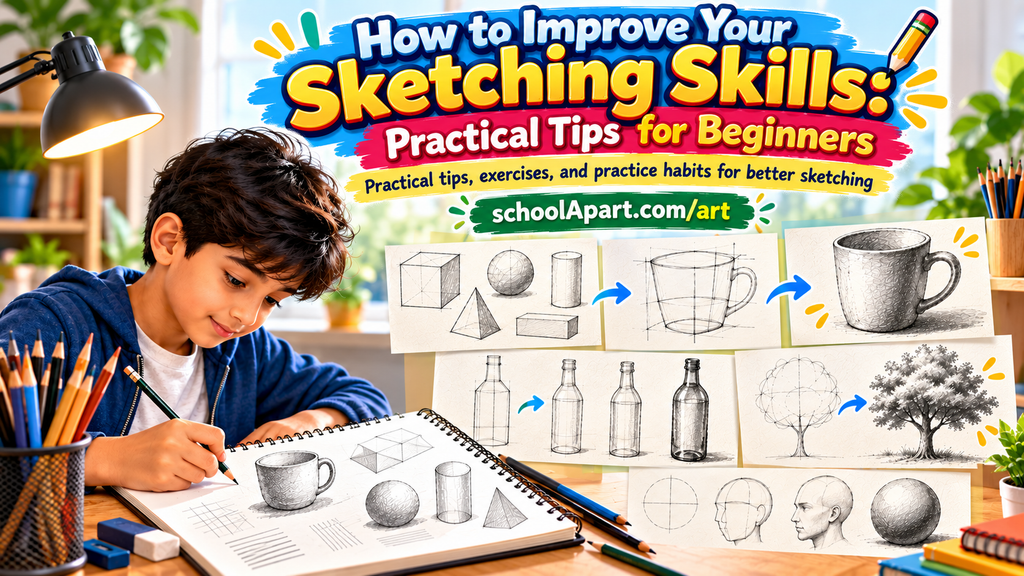
You can begin with a loose sketch, gradually improve the proportions, refine the contours, and then add shading and values.
That makes still life practice useful for students who want to improve both sketching and drawing.
Still Life Drawing and Shading
A simple still life setup provides an ideal opportunity to practice shading.
You can observe:
- Highlight
- Midtone
- Core shadow
- Cast shadow
- Reflected light
If you are new to pencil shading, start with Shading Techniques for Beginners before attempting complex still life studies.
Key Takeaways
- Still life drawing means drawing arranged non-living objects.
- You can start with just two or three simple objects.
- Observation is more important than adding details.
- Use basic shapes to understand complex objects.
- Compare proportions throughout the drawing.
- Think about composition before refining individual objects.
- Decide where the light is coming from.
- Build shading gradually.
- Include cast shadows to ground objects.
- Practice with everyday objects around you.
- Focus on observation rather than perfection.
Still life drawing is one of the most useful exercises for beginners because it brings many fundamental drawing skills together.
You learn to observe real objects, simplify them into basic forms, compare proportions, arrange a composition, understand light and shadow, and gradually develop shading skills.
You do not need an elaborate studio or expensive materials. A book, a cup, and a piece of fruit can be enough for your first exercise.
Start with simple arrangements, draw slowly, observe carefully, and repeat the process regularly. As your observation improves, you can gradually move from simple still life sketches to more detailed and confident drawings.
FAQ
1. What is still life drawing?
Still life drawing is the practice of drawing non-living objects arranged together as a composition.
2. Is still life drawing good for beginners?
Yes. It is an excellent way to practice observation, proportion, composition, basic shapes, light, shadow, and shading.
3. What objects can beginners use for still life drawing?
Beginners can use simple objects such as apples, cups, books, bottles, bowls, boxes, and school supplies.
4. What materials are needed for still life drawing?
A pencil, drawing paper, eraser, and sharpener are enough to begin.
5. Which pencil is best for still life drawing?
An HB pencil is useful for construction, while softer pencils such as 2B and 4B can help with darker shading.
6. How do I start a still life drawing?
Begin by observing the arrangement, identifying basic shapes, marking the overall composition, and lightly sketching the largest forms.
7. Why are basic shapes useful in still life drawing?
Basic shapes help beginners simplify complex objects and understand their overall structure.
8. How do I improve proportion in still life drawing?
Compare the height, width, and position of objects relative to one another throughout the drawing.
9. Should I draw details first?
No. Start with large shapes and proportions before adding small details.
10. How do I add shadows to a still life drawing?
First identify the light source, then observe the darker areas on the objects and the cast shadows on the surface.
11. Can I do still life drawing with a pencil?
Yes. Pencil is one of the most accessible and useful mediums for beginner still life drawing.
12. How many objects should a beginner use?
Starting with two or three simple objects is usually easier than creating a large arrangement.
13. What is the difference between still life drawing and object sketching?
Object sketching often focuses on individual objects, while still life drawing generally involves multiple arranged objects as one composition.
14. How long should a beginner spend on a still life drawing?
A simple practice drawing can take around 20–30 minutes, while more detailed studies may take much longer.
15. Can still life drawing improve observation skills?
Yes. It encourages you to study real shapes, proportions, positions, textures, and light rather than relying only on memory.
16. Can I use everyday household objects for still life?
Absolutely. Everyday objects are excellent subjects because they are easy to access and observe.
17. How do I make a still life drawing look three-dimensional?
Use accurate proportions, overlapping forms, light and dark values, shading, and cast shadows.
18. Why does my still life drawing look flat?
It may lack sufficient value differences, shading, overlapping relationships, or cast shadows.
19. Should I use a ruler for still life drawing?
A ruler can occasionally help with checking proportions, but regular freehand observation is more useful for developing drawing skills.
20. How often should I practice still life drawing?
Regular practice, even for short sessions several times a week, can gradually improve observation and drawing control.
Leave a Reply