

Learn what proportion in drawing means and how to get size, width, height, and shape right with simple techniques and practice exercises for beginners.
Proportion in Drawing: Simple techniques to understand size, shape, and proportion for beginner artists
Drawing is not only about making lines and shapes. It is also about making sure that different parts of a drawing have the right size and relationship to one another. This is where proportion in drawing becomes important.
A drawing can have good lines and shading but still look incorrect if one part is too large, too small, too wide, or too narrow compared with the rest.
The good news is that proportion is a skill that beginners can learn with practice.
In this guide, you will learn what proportion in drawing means, why it matters, how to compare sizes, how to use basic shapes to understand proportion, common mistakes, and simple exercises that can help you improve.
What Is Proportion in Drawing?
Proportion in drawing is the relationship between the size of different parts of an object, subject, or drawing.
For example, imagine drawing a simple bottle. If the bottle is very tall but its neck is drawn too short, or the body is much wider than it should be, the drawing may not look like the original object.
Proportion helps you understand relationships such as:
- Height compared with width
- One part compared with another
- Size of an object compared with nearby objects
- Length of one feature compared with another
- Position and size of different parts of a subject
In simple terms:
Proportion helps different parts of a drawing look correctly related to each other.
Why Is Proportion Important in Drawing?
Proportion is important because our eyes naturally notice size relationships.
When proportions are accurate, a drawing usually looks more natural and believable.
Good proportion can help you:
- Draw objects more accurately
- Make sketches look more realistic
- Improve still life drawings
- Draw faces with better relationships between features
- Create more balanced compositions
- Understand the structure of objects
- Avoid drawings that look stretched or compressed
You do not need perfect mathematical measurements for every drawing. Beginners can develop a strong sense of proportion simply by learning how to observe and compare.
Proportion vs Size: What Is the Difference?
Size and proportion are related, but they are not the same thing.
Size tells you how large or small something is.
Proportion tells you how its size relates to other parts.
For example, a rectangle can be:
- 10 cm wide and 20 cm tall
- 5 cm wide and 10 cm tall
The actual sizes are different, but the proportions are the same because the height is twice the width.
When drawing, you are often more concerned with these relationships than with exact measurements.
A Simple Example of Proportion
Suppose you are drawing a cup.
You might first observe:
- The cup is approximately twice as tall as its handle.
- The opening is wider than the base.
- The handle is about half the height of the cup.
- The width of the cup is smaller than its total height.
These relationships help you build the drawing correctly.
Instead of thinking:
“How many centimeters should I draw?”
try asking:
“How wide is this part compared with that part?”
This simple change in thinking can make observational drawing much easier.
How to Compare Proportions When Drawing
You can use simple observation techniques to compare different parts of an object.
Compare Height and Width
Start by estimating the overall height and width.
Ask:
- Is the object taller than it is wide?
- How many times does the width fit into the height?
- Which dimension is larger?
For example, you might decide that an object is approximately twice as tall as it is wide.
You can then use that relationship when constructing the drawing.
Compare One Part With Another
Look for relationships between smaller parts.
For example:
- Is the handle half the height of the cup?
- Is the window one-third the width of the building?
- Is the head wider than the neck?
- Is the leaf longer than the flower?
These comparisons are more useful than drawing each part independently.
Use Basic Shapes to Understand Proportion
Basic shapes can make proportion easier to understand.
Many objects can first be simplified into:
- Circles
- Ovals
- Squares
- Rectangles
- Triangles
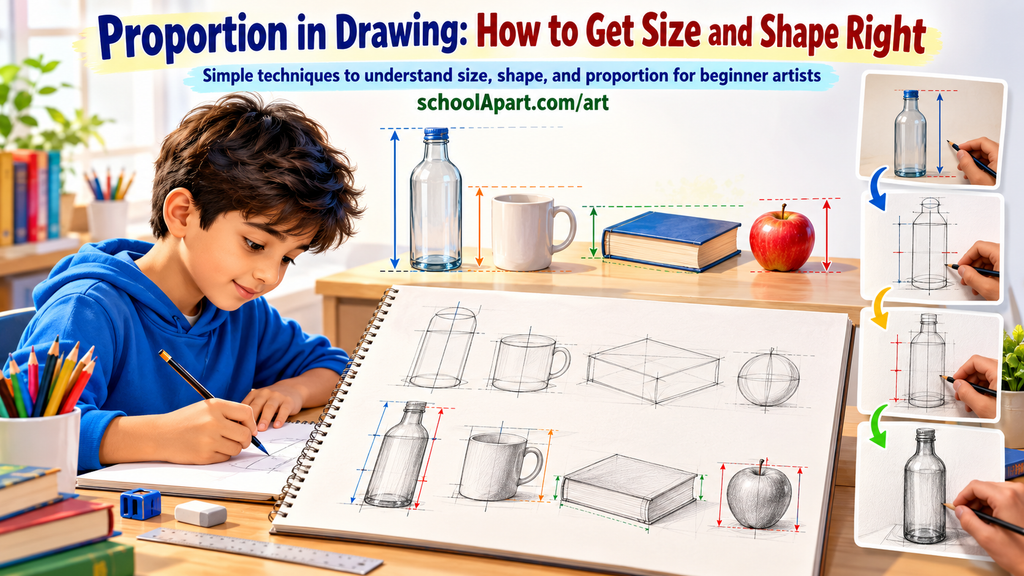
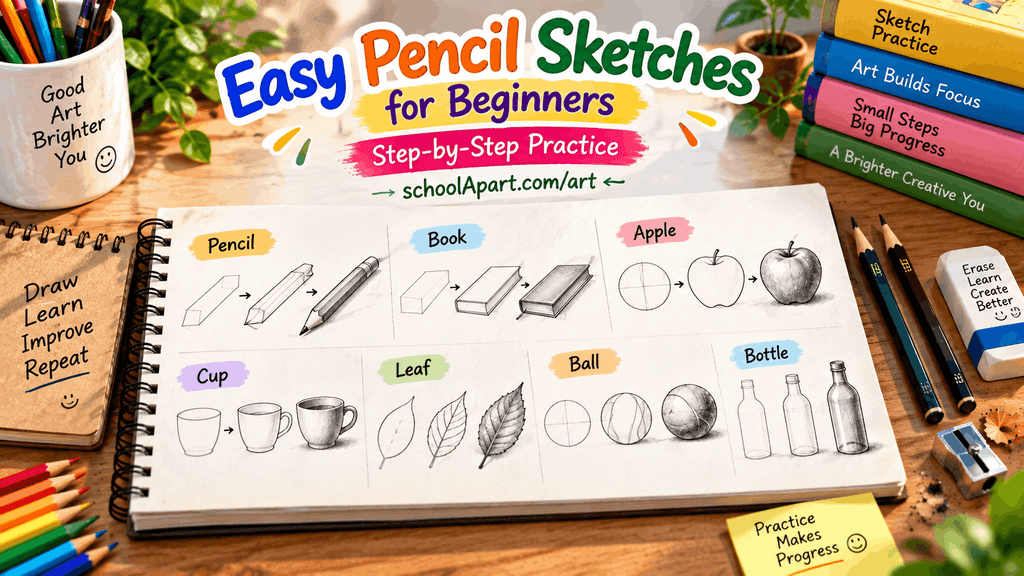
For example, a simple bottle might be constructed from:
- A rectangle for the body
- A smaller rectangle for the neck
- An oval for the opening
Once the basic shapes have the correct relationships, you can gradually add details.
This is one reason learning basic shapes is an important foundation for drawing.
You can also practice with our guides:
Start With the Overall Shape
One common beginner mistake is starting with small details too early.
Instead, begin with the overall shape.
Ask:
- How tall is the subject?
- How wide is it?
- What is its overall shape?
- Where are its major parts?
- Which parts are larger or smaller?
Once the overall proportion is correct, you can work on smaller details.
A useful order is:
Overall Shape → Major Parts → Smaller Parts → Details
This approach helps prevent proportion errors.
Use Reference Points
Reference points can help you compare the position and size of different parts.
For example, when drawing an object, identify:
- Top point
- Bottom point
- Left edge
- Right edge
- Center
- Major divisions
- Important corners
These points create a simple framework for your drawing.
You can then check whether each part is positioned correctly relative to the framework.
Use Comparative Measurement
You do not always need a ruler to measure proportions.
Instead, you can use one part of the object as a reference unit.
For example, suppose the height of a cup is your reference unit.
You can then ask:
- How wide is the cup compared with its height?
- How large is the handle compared with the cup?
- How large is the opening compared with the body?
This is called comparative measurement.
It is particularly useful when drawing from observation.
Check Negative Space
Proportion is not only about the object itself.
The empty spaces around and between parts can also help you identify mistakes.
These empty areas are called negative spaces.
For example, when drawing a chair, look at:
- The space between the legs
- The space underneath the seat
- The space between the backrest and the seat
If these spaces look different from the reference, some part of your drawing may have the wrong proportion.
Negative space can therefore act as an additional checking tool.
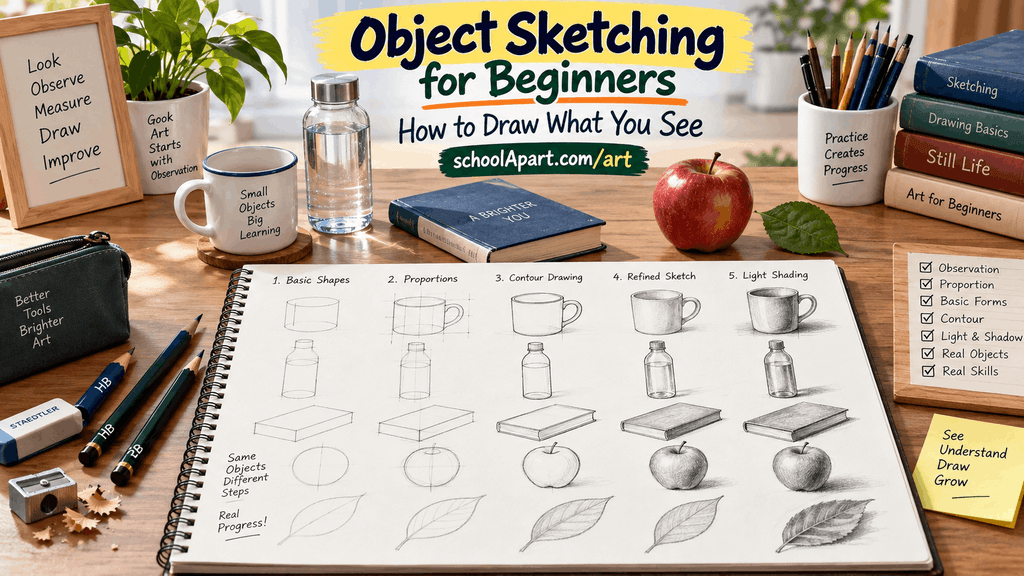
Proportion in Object Sketching
Proportion becomes especially important when drawing real objects.
For example, when sketching a bottle, you might first identify:
- Overall height
- Overall width
- Neck height
- Body width
- Opening size
- Base width
Then compare each part with the others.
This makes the drawing more controlled than simply copying the visible outline.
For more practice, see:
Object Sketching for Beginners: How to Draw What You See
Proportion in Still Life Drawing
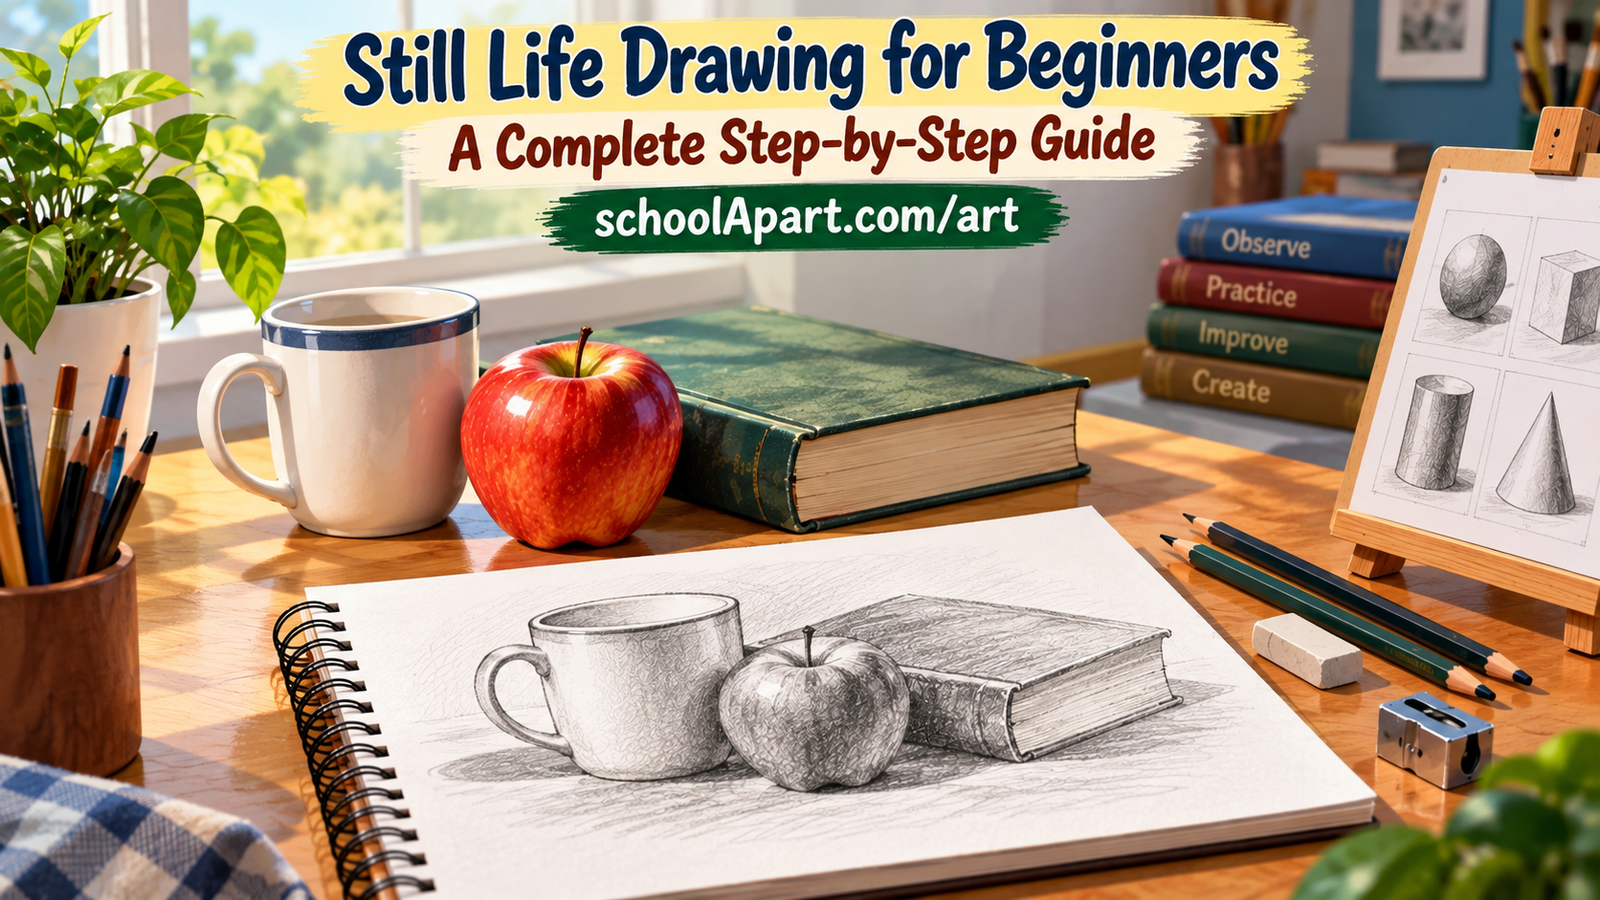
Still life drawing often contains several objects together.
This introduces another important type of proportion:
Object-to-object proportion.
For example, imagine a composition containing:
- A bottle
- A cup
- An apple
- A book
You need to consider not only the proportions within each object but also their relative sizes.
Ask:
- Is the bottle taller than the cup?
- How large is the apple compared with the cup?
- How wide is the book compared with the bottle?
- Which object is the largest?
These relationships help the entire composition look balanced.
Our Still Life Drawing for Beginners guide can help you practice this further.
Proportion in Face Drawing
Human faces are another area where proportion is important.
A face contains many relationships between features, including:
- Eye position
- Distance between the eyes
- Nose position
- Mouth position
- Ear height
- Face width
- Chin position
However, beginners should avoid treating these relationships as rigid rules.
People have different facial structures, and proportions can vary from person to person.
Instead, use proportion guidelines as a starting framework and observe your reference carefully.
You can also practice individual facial features with guides such as:
- How to Draw Eyes for Beginners
- How to Draw a Nose for Beginners
- How to Draw Lips for Beginners
- How to Draw Ears for Beginners
Common Proportion Mistakes Beginners Make
Starting With Details
Drawing eyes, buttons, handles, or small decorations before establishing the overall structure can create problems later.
Better approach: Start with the largest shapes first.
Drawing From Memory Instead of Observation
Memory often simplifies objects.
When possible, look carefully at the reference and compare relationships rather than relying only on what you think an object should look like.
Making Every Part the Same Scale
Different parts of an object rarely have equal sizes.
Always compare one part with another.
Ignoring Width
Beginners often focus heavily on height.
But width is equally important.
Always check both:
Height + Width
Changing Proportion While Adding Details
Sometimes a drawing starts correctly but becomes distorted as details are added.
Keep checking the overall shape throughout the drawing process.
Using Too Much Pressure Too Early
Dark lines can make corrections difficult.
Start with light construction lines so you can adjust proportions before committing to the final outline.
Easy Proportion Exercises for Beginners
You can improve proportion through short, regular exercises.
Exercise 1: Height-to-Width Practice
Choose five simple objects.
For each object, estimate:
Height : Width
You do not need exact numbers.
For example:
- Bottle — approximately 3:1
- Cup — approximately 1:1
- Book — approximately 1.5:1
Then draw the objects using those relationships.
Exercise 2: Divide an Object Into Parts
Choose a simple object such as a bottle.
Divide it into:
- Top
- Neck
- Body
- Base
Compare the height of each section.
Then draw it.
This teaches you to think about relationships between parts.
Exercise 3: Compare Two Objects
Place two objects together.
For example:
Cup + Bottle
Ask:
- How many cup-heights fit into the bottle?
- Which object is wider?
- Where does the top of the cup reach compared with the bottle?
Then sketch both objects.
Exercise 4: Draw From a Reference
Choose a simple photograph or real object.
Before drawing, spend one or two minutes only observing it.
Identify:
- Overall height
- Overall width
- Major shapes
- Important reference points
- Relative sizes
Then begin drawing.
Exercise 5: Proportion Check
After finishing your drawing, compare it with the reference.
Check:
- Overall height
- Overall width
- Major parts
- Relative sizes
- Negative spaces
Circle or mark the areas that look different.
Then redraw the same subject.
This comparison is one of the best ways to improve observation.
A Simple Proportion Workflow
For beginners, the following workflow is easy to remember:
Observe → Measure → Block In → Compare → Adjust → Detail
Observe
Look carefully at the subject before drawing.
Measure
Estimate relationships between height, width, and major parts.
Block In
Use simple shapes and light construction lines.
Compare
Check your drawing against the reference.
Adjust
Correct incorrect proportions.
Detail
Only add smaller details after the main structure is working.
How to Practice Proportion Without Feeling Overwhelmed
You do not need to spend hours practicing.
Try a simple routine:
10–15 minutes a day
- 3 minutes — observe a simple object
- 4 minutes — draw the basic structure
- 3 minutes — compare proportions
- 5 minutes — redraw or correct the drawing
Start with simple objects such as:
- Cups
- Bottles
- Books
- Boxes
- Fruits
- Leaves
- Simple household objects
As your observation improves, move to more complex subjects.
Proportion Is a Skill You Can Improve
Proportion may seem difficult at first because beginners often try to draw what they think they see rather than carefully comparing what is actually there.
With regular practice, you can become better at noticing:
- Relative size
- Height and width
- Shape relationships
- Distance between parts
- Object-to-object relationships
- Negative spaces
You do not need perfect proportions in every drawing.
The goal is to gradually develop a stronger ability to observe, compare, and correct.
Final Tips for Better Proportion in Drawing
Keep these tips in mind:
- Start with the overall shape.
- Compare height and width.
- Compare one part with another.
- Use basic shapes for construction.
- Keep construction lines light.
- Use reference points.
- Check negative spaces.
- Compare objects with each other in still life drawings.
- Avoid adding details too early.
- Check your proportions again before finishing.
Most importantly, do not be afraid to correct your drawing.
Correction is part of learning to draw.
Proportion in drawing is the skill of understanding how different parts relate to one another in size, width, height, and position.
You do not need advanced artistic skills to begin learning it. By using basic shapes, reference points, comparative measurement, and regular observation exercises, you can gradually make your drawings more accurate and balanced.
Start with simple objects, focus on relationships rather than tiny details, and make proportion checks part of your normal drawing practice.
With consistent practice, getting size and shape right becomes much more natural.
Quick Takeaway
Proportion = the relationship between the sizes of different parts of a drawing.
For better proportion:
Observe → Compare → Construct → Check → Correct → Detail
Frequently Asked Questions
What is proportion in drawing?
Proportion in drawing is the relationship between the sizes of different parts of an object, subject, or composition.
Why is proportion important in drawing?
Proportion helps different parts of a drawing look correctly related in size, width, height, and position.
How can beginners improve drawing proportions?
Beginners can improve by observing carefully, comparing height and width, using basic shapes, checking reference points, and practicing with simple objects.
What is the difference between size and proportion in drawing?
Size describes how large or small something is, while proportion describes how its size relates to other parts.
Can I learn proportion without using a ruler?
Yes. Comparative measurement and visual observation can help you understand proportions without measuring every part with a ruler.
How do basic shapes help with proportion?
Basic shapes simplify complex objects and make it easier to compare the size and position of their major parts.
What is comparative measurement in drawing?
Comparative measurement means using one part of a subject as a reference and comparing the size of other parts with it.
Why do my drawings look distorted?
Distortion can happen when the height, width, position, or relative size of different parts is inaccurate.
Does proportion matter in still life drawing?
Yes. Still life drawing requires both correct proportions within individual objects and correct relative sizes between different objects.
Does proportion matter in face drawing?
Yes. The relationships between facial features are important when creating an accurate face drawing, although proportions vary between individuals.
What is the easiest way to practice proportion?
Start with simple objects such as cups, bottles, books, boxes, and fruits. Compare their height, width, and major parts before adding details.
Should I add details before checking proportions?
No. It is usually easier to correct proportions before adding detailed features.
How long should I practice drawing proportions?
Even 10–15 minutes of focused practice each day can help develop observation and proportion skills over time.
Is proportion the same as perspective?
No. Proportion deals mainly with relationships between sizes and parts, while perspective explains how objects appear to change with depth and viewpoint.
Can proportion make a drawing look more realistic?
Accurate proportion can help a drawing look more natural and believable, especially when drawing from observation.
Leave a Reply